Looking to learn how to blend contour (the right way)?! Learn exactly how to enhance your natural beauty and achieve a sculpted face with these beauty secrets.
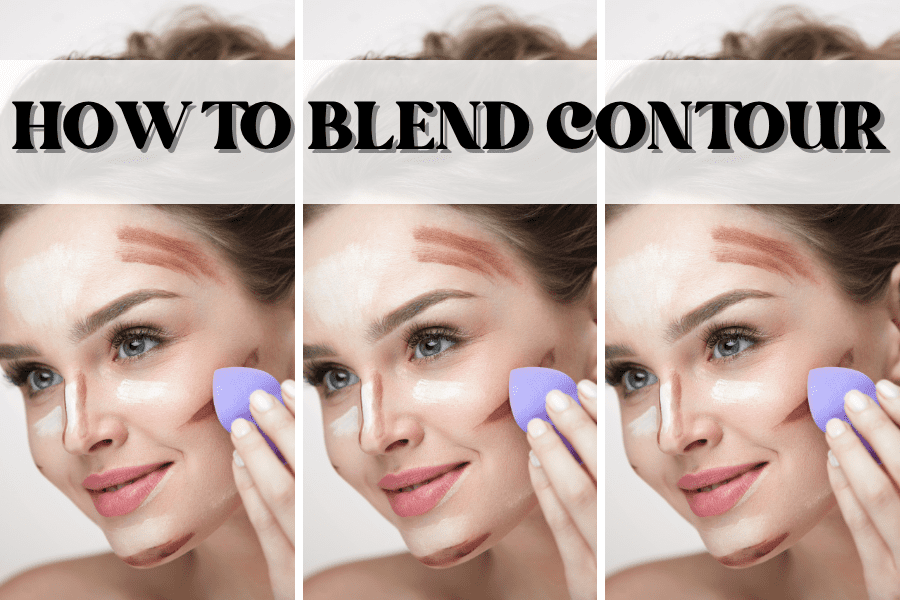
Whether you're going for a full glam, Kim K bronzed makeup look. Or, you want a subtle yet sculpted face to show-off your natural beauty. There's no denying you need to learn how to blend contour makeup-- the right way!
By discovering the magic of how to blend contour, you'll always want it to be a part of your makeup routine. Trust me, the first time I learned how to contour was almost ten years ago when I was learning how to contour my nose. Now, contouring has become part of my makeup routine essential steps.
In this post, you'll learn exactly how to blend contour from deciding what parts of the face to contour, what makeup products to use, and more!
After reading, you'll know all the steps to be a contouring pro & can even be part of your daily makeup routine too!
This post is all about how to blend contour correctly for a naturally snatched face.
*Step By Step Guide To Contouring*
7 Simple Steps On How To Blend Contour Makeup
1. Apply Your Base Makeup First
Before we get into the nitty gritty on contouring, it’s important you have a strong base. Apply your foundation and concealer prior to contouring. This is to ensure the contour, no matter if you use a cream contour or powder, effortlessly blends into the face.
Make sure to evenly apply your foundation throughout your face and down your neck. Apply concealer where needed. We like to apply concealer under our eyes and to cover any breakouts.
2. Pick Your Contour Product (Or Mix & Match)
Once you’re done applying your foundation and concealer, it’s time to decide what contour product to use.
There are two main types of contour products: contour powder and a contour stick.
If you are going for a more dewy, natural look, we recommend using a contour stick. This is because the product will more easily blend flawlessly into the foundation you’ve applied.
However, if you want a more defined, sculpted look, consider using a contour powder.
Sometimes, during my makeup routine, I’ll mix and match using a cream contour stick and then a contour powder to get an even more bronzy, contoured look. If you choose to go with this method (optional), apply using your contour stick first then your contour powder on top for a more bronzy look.
Our go-to contour products are the FENTY BEAUTY skinstick in Mocha and the Anastasia Beverly Hills-Contour Kit.
We're OBSESSED with how effortlessly the Fenty Beauty contour stick applies. The Anastasia Contour kit is another essential because it has six basic colors (including a beautiful shimmering highlighter) perfect for any makeup look.
3. Decide What Brush Or Beauty Blender To Use
To be able to blend your contour, you’re going to need the right tools to blend.
If you’re blending contour powder, use a relatively blunt fan brush that’s angled and/or has a relatively sharp edged bristles. This is to ensure you are able to sculpt your face.
If you’re blending nose contour, use a smaller, more defined flat brush for a more exact finish.
Steer clear of using big fluffy brushes for contouring as you won’t be able to get that exact, contour effect.
For a contour stick, you can choose to either blend lightly with your fingers or use a beauty blender. A beauty blender allows you to seamlessly blend the cream contour into your foundation base.
You can also get a beauty blender, nose contour brush, and a face contour brush for cheap on Amazon!
4. Choose What Parts Of Your Face To Contour
Depending on where you want to sculpt your face will determine where you want to contour.
Common parts of the face to contour include:
Nose
Cheekbones
Corners of Forehead
Jawline
Again, you don’t have to contour every area of your face. This will depend on your face shape (to be discussed later on!) and your personal makeup preference.
Remember to use a finer makeup contour brush for your nose to achieve a naturally snatched nose.
5. Blend It Out!
Next, once you’ve applied your contour, it’s time to blend it out. The key is to blend your contour upwards 
Otherwise, if you blend downwards, this will only muddy your look and just look like you’ve applied too much bronzer.
For a natural contour look, blend well. If you applied contour powder and find it’s not blending to your liking with just the use of a makeup brush, try lightly blending with your beauty blender.
6. Build With Blush and Highlight (Optional)
Even better, to enhance your contour makeup look more, consider adding blush and highlighter.
Using blush and highlighter will only further enhance your sculpted face for a brighter, more defined look.
For blush, apply just as you would contour on your cheekbones, but slightly above where you applied your contour product and blend upwards.
Then, for highlighter, you can apply a small amount to the tip of your cheekbones, inner corners of your eyes, and even the tip of your nose for a bright, look. Just be sure to not overdo it with the highlighter…. Less is more here!
Need some blush and highlighter recommendations?! We’re obsessed with the Nars Blush and the Becca Highlighter. Both are quality products that blend well (even if they’re a little pricey-they’re worth it!).
7. Set Your Makeup
Last but certainly not least, set your makeup. The last thing you want is to spend time perfecting your contour game just for it to wear off easily.
We’re obsessed with the Mac Setting Spray. Just a couple of sprays will help lock in your makeup look!
Video Tutorial: How To Blend Contour
How To Contour & Highlight For Beginners | Roxette Arisa
Want a video tutorial to follow to perfect your contouring game?! This tutorial goes in-depth and is perfect to learn how to contour for beginners. Whether you're still unsure on how to blend contour on nose, or simply want to watch a video tutorial on how to blend contour makeup, this is a must-watch tutorial!!
Contouring Your Face Shape
If you’re unsure about how to contour or where to contour, knowing your face shape will help.
The 6 types of face shapes are:
Oblong Face
Rectangle Face
Round Face
Diamond Face
Heart Face
Oval Face
Therefore, depending on the type of face shape will guide you to know where to contour. The above image is a simple guide that shows where you should focus on contouring depending on your own unique face shape.
For example, if you have a more long, rectangular face, you’ll want to contour especially on the forehead and jawline to shorten your long face for a more round, symmetrical look.
FAQs
Do You Blend Contour Up Or Down?
Blend upwards! You should blend your contour upwards to give you a more sculpted, defined face and dimension.
Otherwise, if you blend downwards, you will only “muddy” or smear your contour, giving you an overly bronzy, messy look.
Should You Blend Your Contour With A Makeup Brush Or Beauty Blender?
Depending on the type of contour product consistency will determine the contour blending tool you use.
If you decide to use a contour cream stick, which gives a more natural, dewy finish, then you’ll want to use a beauty blender.
However, if you use contour powder for a more defined, matte look, you’ll want to use a fan makeup brush.
Why Is My Contour Not Blending?
If you are having trouble blending your contour, first understand what you did wrong.
Did you apply too much contour product? Did you put the contour in the wrong part of your face and smeared it?
Understanding your mistake will help you make adjustments and practice the next time you contour.
If you notice your contour isn’t blending with a brush, consider using a beauty blender. I find a beauty blender always helps evenly distribute the contour into the foundation. You can even try lightly blending with your fingers as well.
When in doubt… if your makeup brush isn’t blending the way you want and your contour is too harsh, switch to using a beauty blender. AND don’t forget to blend upwards.

